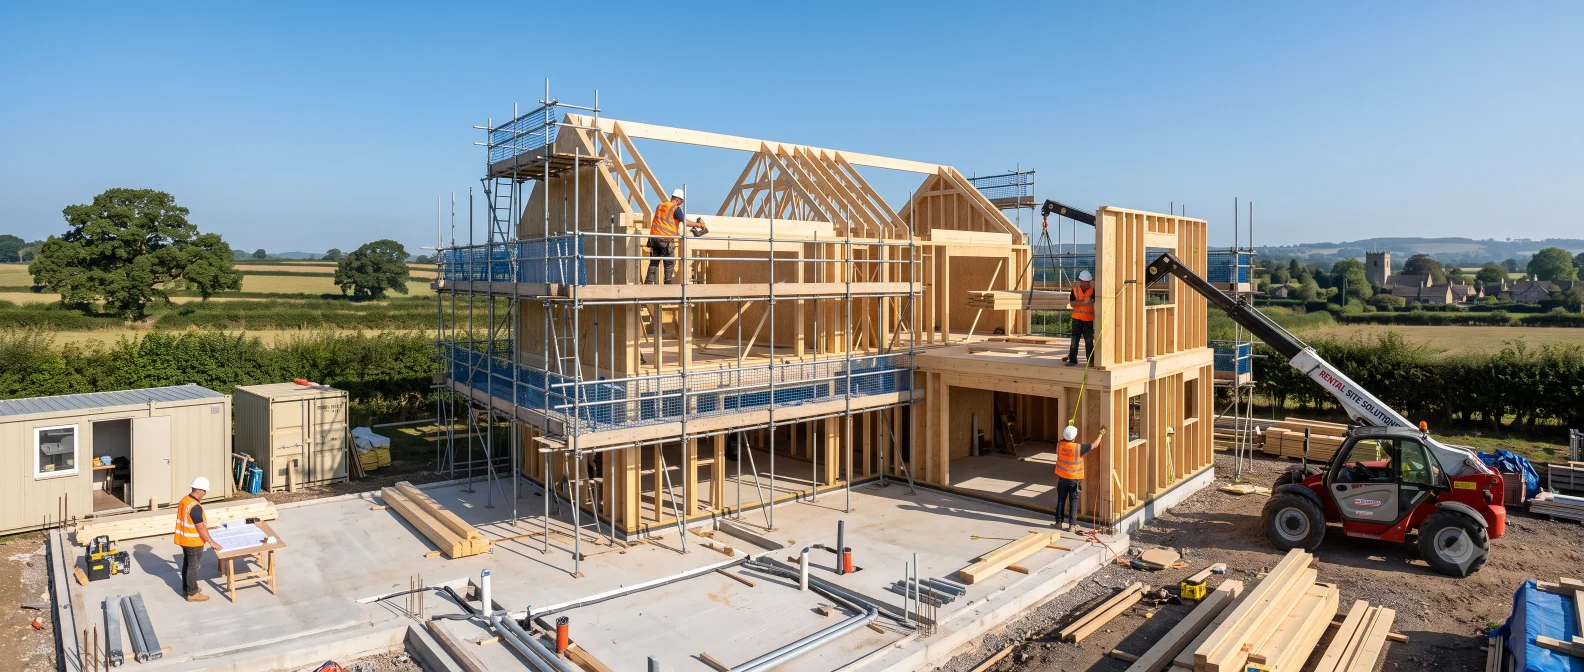
Stage 5: The Build
The phase you have been planning for. Know what happens at each stage, when Building Control needs to inspect, and what your mortgage lender needs to release funds.
The phase you have been planning for. Know what happens at each stage, when Building Control needs to inspect, and what your mortgage lender needs to release funds.
Before any construction work begins, set up your site properly. You legally require a WC facility for workers, clean water, and adequate welfare provision from day one. Secure tool storage reduces theft significantly - plant and tool theft on UK self-build sites is common and often underinsured.
Agree the construction programme in writing with your contractor before starting. A programme with key milestones gives you a basis for managing progress and making stage drawdown requests to your lender.
Groundworks is the riskiest phase in terms of budget uncertainty. What is underground can only be confirmed once excavation begins. Ground conditions that differ from the geotechnical report - poorly compacted ground, unexpected services, contamination, high water table - can add significant cost.
The sequence is: strip topsoil and set out from agreed datum, excavate to formation level, construct foundations. Building Control must inspect the excavation before you pour concrete. Do not pour without sign-off - you may be asked to break it out.
Common foundation types on self-builds:
Drainage runs are installed and tested before backfilling. Building Control inspects drainage before it is covered. Never backfill without sign-off. Drainage installed incorrectly is extremely expensive to correct later.
If you are connecting to a public sewer, you will need a connection agreement from the water authority. If you are using a package sewage treatment plant, it must be sited correctly relative to boundaries, watercourses, and the dwelling.
The ground floor is either a beam-and-block suspended floor or an insulated concrete slab. Building Control inspects before screeding.
The superstructure - the walls or frame that form the building above ground - is erected next. This is where your build route choice becomes visible:
Getting to weathertight - roof covering on and windows and doors in - is the most important milestone in your build programme. Once the building is weathertight, internal work can proceed in all weathers and the risk of water damage to materials is eliminated.
Photograph completion of weathertight stage carefully - your lender will require evidence for the stage release payment. Check exactly what your lender's inspector needs to see before calling them out.
First fix covers all services installed before plastering - electrical cabling and back boxes, plumbing pipework, soil stacks, heating flow and return pipework, and mechanical ventilation ductwork if applicable. This phase happens once the building is weathertight and before insulation and plasterboard.
For high-specification builds, airtightness is installed at this stage - membranes, tapes, and service penetration seals. Get the airtightness contractor to walk every joint before boarding commences. Remedying airtightness failures after plasterboard is on is expensive and disruptive.
If you are targeting low air permeability (below 3 m³/h.m² for Building Regulations, below 1 for Passivhaus), commission a pre-plasterboard airtightness test at first fix stage. It is much cheaper to fix problems now than after the board is on.
Insulation is installed at first fix stage - in the wall cavity, in the roof between and below rafters, and in the floor. The type and thickness must comply with the SAP calculation submitted with your Building Regulations application. Building Control may inspect insulation before it is boarded over - check with your inspector.
Second fix follows plastering and covers all visible services and finishes:
Driveway, boundary fencing, patio, drainage outfall, and landscaping are typically done last. Do not spend money on landscaping until you are confident all drainage is working correctly - water finding its way back to the house is a common late-stage problem.
Commission an independent snagging survey from a professional snagging inspector before Building Control's final inspection. A good snagging inspector will identify items your contractor has missed or finished to a lower standard than the contract requires. It is far easier to get the contractor to return and fix things before they have been paid in full and moved on.
Present the snagging list to your contractor in writing and agree a completion date for each item. Do not release retention until all snagging is complete.
Ready to tick off these tasks? Go to Stage 5 in your project checklist - your progress is saved automatically.