Fill in the dimensions for your job - length, width, height, or whatever fields the calculator asks for. All measurements are in metres and millimetres unless stated. Want a head start? Try a Quick Start Project Kit - pre-built job templates that load common specs in one click.
2
Adjust the waste allowance
Most calculators include a waste percentage field. The default is a recommended starting point - increase it for complex cuts or awkward layouts, reduce it for simple runs.
3
Click Calculate
Your material quantities appear instantly. Results show packs, bags, or units needed, plus the total area or volume for reference.
4
Add UK market prices (optional)
Click Get UK Market Prices if the option appears. This loads current trade rates and gives you a cost estimate alongside your quantities. You can edit any of the prices before calculating if your own rates differ.
5
Save to a project
Click Save to Project to store these results. You can create a new project or add the line to an existing one. You can save one project for free, or upgrade to a Pro account to store as many as you need with cloud backup and access across all your devices.
6
Print or export
Use the Print or Export CSV buttons to save your results. The print layout is clean and formatted for site use or handing to a client.
Your saved projects are under My Projects in the menu. Each project collects all your calculator results in one place - handy for pricing up a full job. You can freely amend any part of a project at any point. With a Pro account you can also send polished quotes to clients or material specs direct to subcontractors.
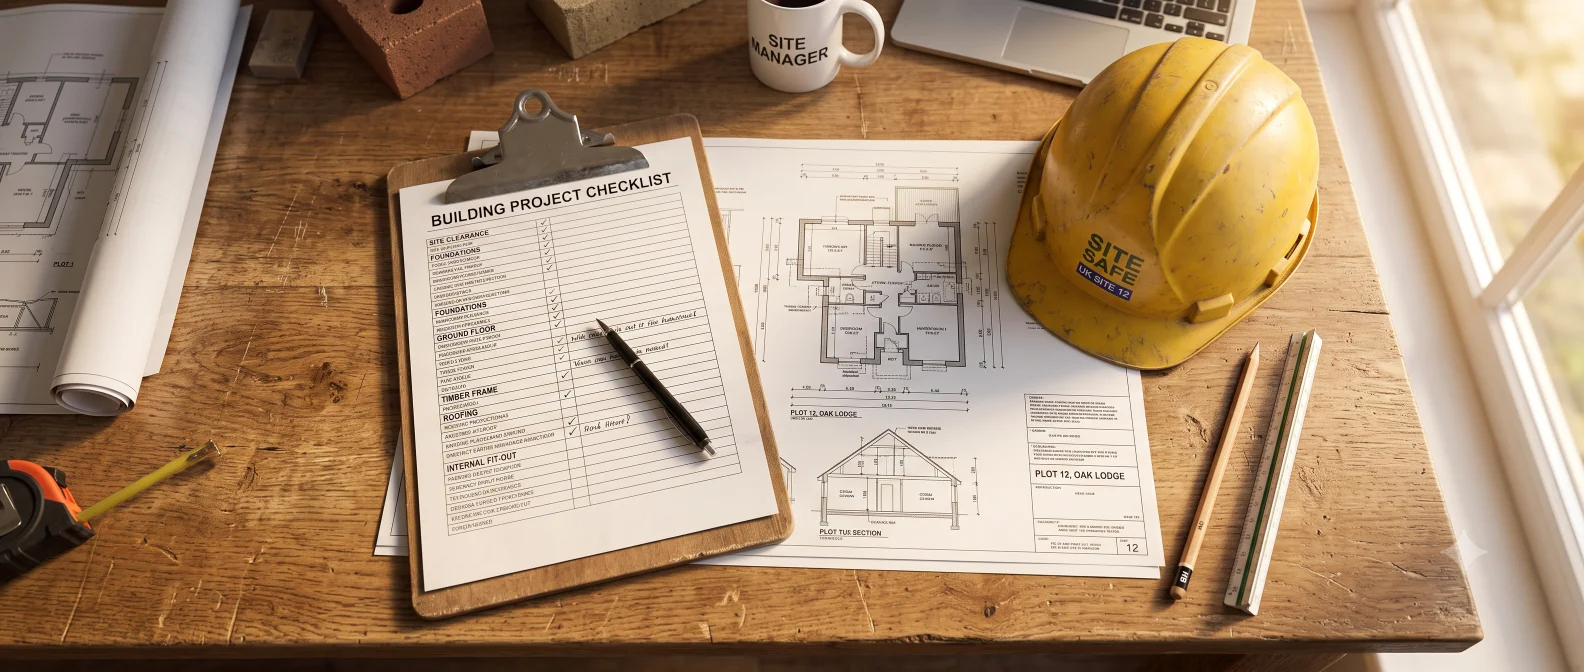
Around 70 tasks across six stages - from first finance checks through to moving in. Tick items off as you go; your progress is saved in your browser.
Land cost
-
Build cost
-
Total project
-
Estimated end value
-
Your figures from the Cost Estimator and Mortgage Calculator. Update these in those calculators if your situation changes.
About your project
Tell us a little about your project to personalise the checklist
Overall progress
0 of 0 tasks
Stage 1Finance & Feasibility0 / 9
Do this before you look for land. Getting your finances in order first means you know your real budget and can move quickly when the right plot comes up.
Stage 2Finding & Buying a Plot0 / 13
Finding a plot with planning permission is often the hardest part of self-build. Be patient, look broadly, and move quickly when you find one - good plots sell fast.
Scotland: Property purchases in Scotland proceed through missives (formal letters of offer and acceptance) rather than exchange of contracts. The process moves faster but is legally binding earlier. Instruct a Scottish solicitor who is experienced in self-build land transactions from the outset.
Stage 3Design & Planning0 / 14
Scotland - Planning: Scotland has its own planning system administered by local planning authorities. There is no equivalent to the Householder Permitted Development system in England - most external changes require planning permission. Building Standards (not Building Regulations) apply. Contact your local authority's planning department early for pre-application advice.
High Specification Build: At this specification level, budget for PHPP energy modelling (rather than standard SAP), detailed airtightness specification, and specialist subcontractors for MVHR, external wall insulation, and triple glazing. Your architect should have demonstrable experience with high-performance buildings.
Stage 4Procurement & Contracts0 / 12
Do not break ground until Stage 4 is complete. Starting work before CIL exemption, party wall, or Building Control notice are in place can have serious legal and financial consequences.
Scotland: Community Infrastructure Levy (CIL) does not apply in Scotland. Section 75 planning obligations (the Scottish equivalent of S106 agreements) may apply. Check your planning permission conditions carefully.
Stage 5The Build0 / 23
Building Control will need to inspect at key stages. Agree an inspection schedule with your inspector before work starts so you are not held up waiting.
High Specification Build: At this specification, airtightness is critical. Tape all membrane joints as you go - it is very difficult to rectify after plasterboarding. Commission a pre-plasterboard airtightness test as well as the final test. MVHR commissioning should be by the manufacturer's approved installer.
Groundworks & Structure
First Fix
Second Fix & Fit-Out
External Works & Sign-Off
Stage 6Completion & Moving In0 / 11
The VAT reclaim has a strict 3-month deadline from completion. Do not miss it - it is typically one of the largest single sums you will ever reclaim from HMRC.
This checklist is a guide only and does not constitute professional advice. Requirements vary by location, project type, and circumstances. Always consult qualified professionals - architect, solicitor, structural engineer, and mortgage adviser - before making decisions.
We use cookies to understand how visitors use this site (Google Analytics). No advertising or third-party tracking. Privacy Policy
Just so you know...
We use analytics to understand which calculators people use most, so we can prioritise improvements and new features. Declining means we build blind - we won't know what's working or what to fix next.
No advertising, no third-party tracking - just anonymous usage data to help us make the site better.